Documentation Index
Fetch the complete documentation index at: https://swiftgum.mintlify.app/llms.txt
Use this file to discover all available pages before exploring further.
Quick Start
This guide walks you through setting up Swiftgum in five simple steps.
Activate an Integration
With your admin account, navigate to Integrations in the Swiftgum dashboard. For example, to enable Google Drive: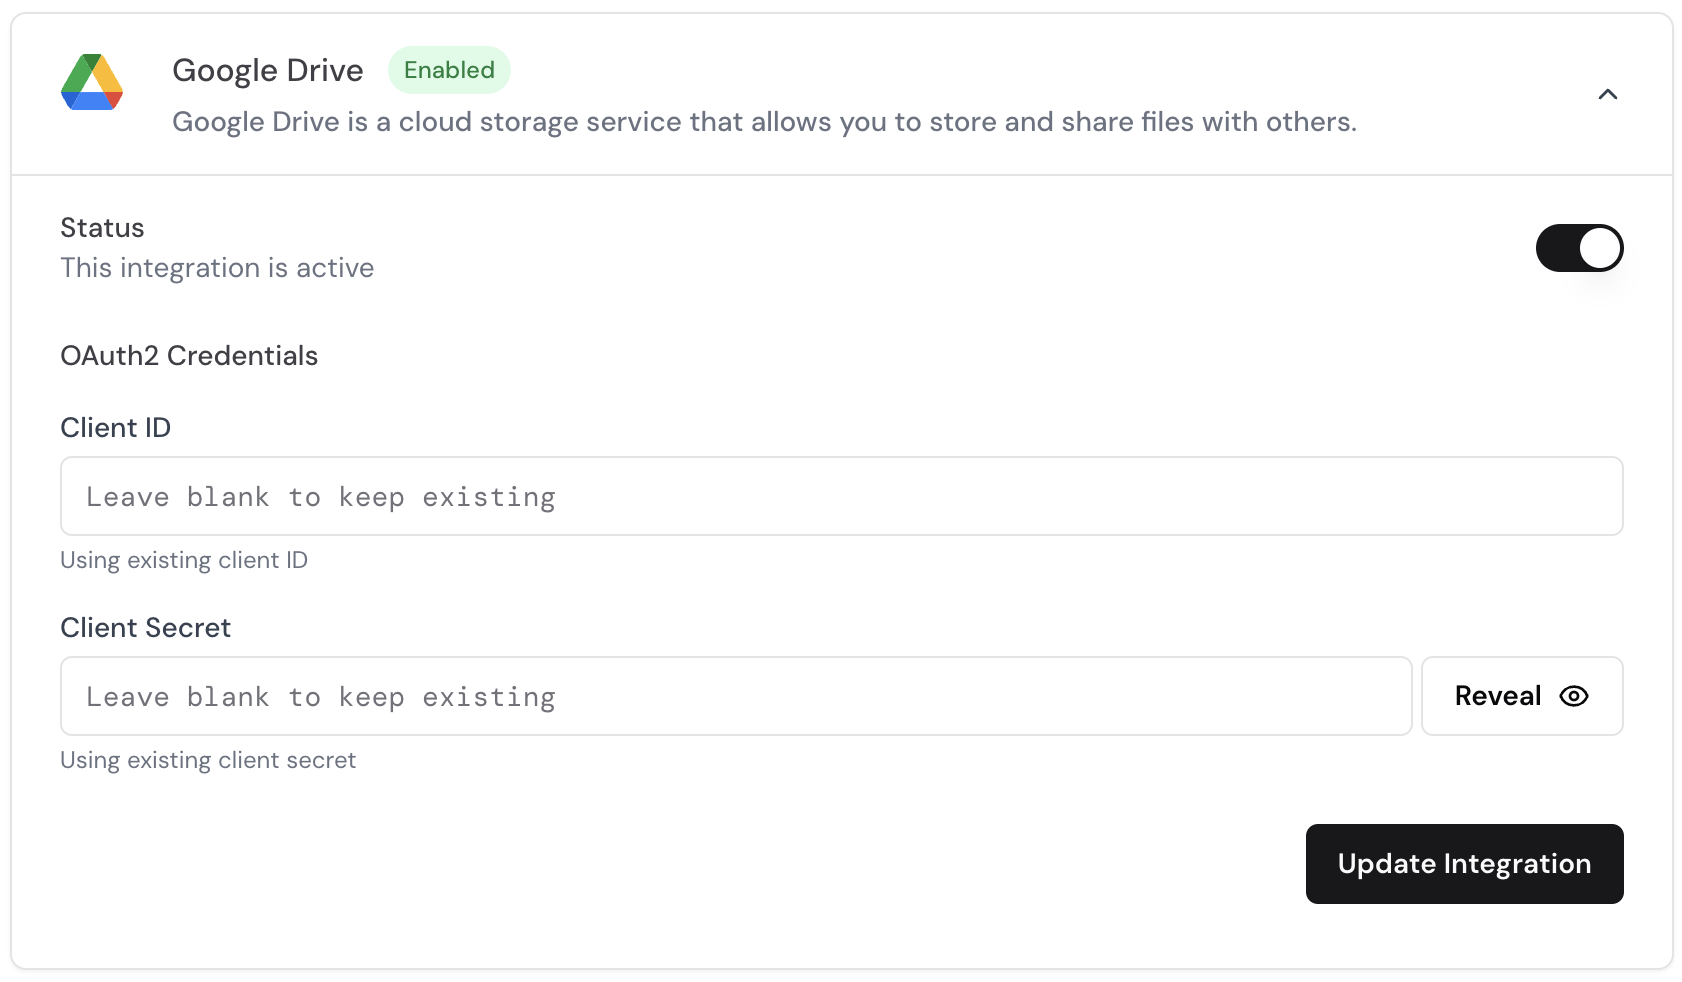
- Toggle the Integration: Switch the integration status to “Enabled”.
- Enter OAuth Credentials:
Client IDandClient Secret(from your Google Developer Console), or leave them blank if already configured.- Click Update Integration to save changes.
Create a Portal Session
Next, call the Response (200):
The response contains a signed URL that the developer can directly use in the UI.
/api/portal/session endpoint to generate a sessionId for a specific user, allowing them to manage their newly enabled integration.Redirect User to the Portal
- Use the returned
sessionIdto build a portal link: - Redirect your user to that link (e.g., from a “Manage Knowledge” button in your app).
- The user can now authorize Google Drive (or any other enabled integration) under their account, set permissions, etc.
- After finishing, they’ll be sent back to your specified
returnUrl.
Configure a Webhook Destination
By default, Swiftgum functions as an ETL engine—fetching data from the enabled integrations. To receive that data in your system: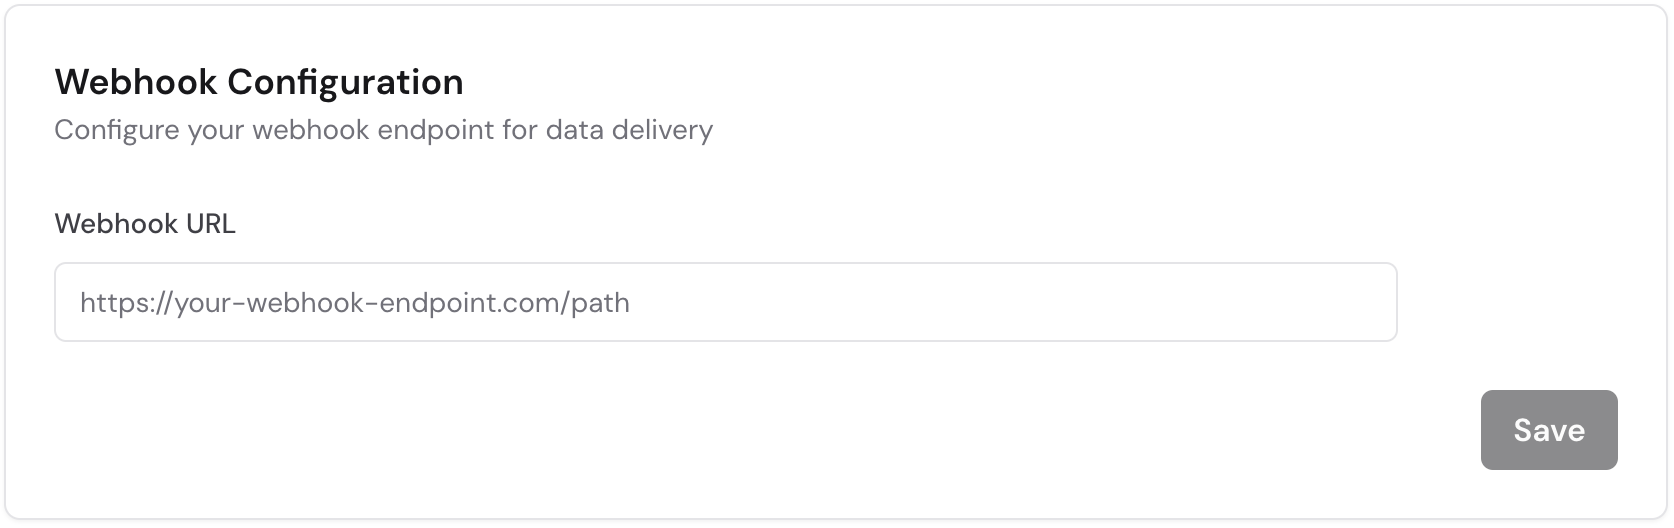
- Navigate to Webhook Destination in your Swiftgum admin dashboard.
- Specify your Endpoint (e.g.,
https://api.yourdomain.com/swiftgum-webhook). - Swiftgum will send new or updated content to this endpoint after each fetch.
- Verify Delivery: Swiftgum will send a test POST request to validate connectivity.
Example Webhook Response:
- Navigate to Webhook Destination in your Swiftgum admin dashboard.
- Specify your Endpoint (e.g.,
https://api.yourdomain.com/swiftgum-webhook).- Swiftgum will send new or updated content to this endpoint after each fetch.
- Verify Delivery: Swiftgum will send a test POST request to validate connectivity.